
Screen recording has become an essential tool for sharing information, creating tutorials, reporting bugs, and much more. Whether you are using an Android device or an iPhone, knowing how to capture your screen is incredibly useful. This article will provide a comprehensive guide on how to screen record on both Android and iPhone devices, covering various methods and settings to help you master this valuable skill. Learn to record your screen effectively and easily, regardless of your mobile operating system.
Screen recording on Android phones and screen recording on iPhones offer slightly different approaches, and understanding these nuances can greatly enhance your experience. We will explore the built-in screen recording functionalities of both platforms and introduce helpful third-party apps that can expand your screen capturing capabilities. From recording gameplay to creating software demonstrations, this guide will empower you to harness the full potential of screen recording on your Android or iPhone device.
Enable Built-In Screen Recorder
Both Android and iPhone offer built-in screen recording functionality, eliminating the need for third-party apps in most cases. The process for enabling the screen recorder varies slightly depending on your device and operating system version.
Android
Most Android devices have the screen recorder accessible through the Quick Settings panel. Swipe down from the top of the screen to reveal the Quick Settings icons. Look for a “Screen recorder” or similar icon. If it’s not immediately visible, you may need to swipe left or tap a button to expand the available options. Long-pressing the Screen recorder icon might offer additional settings.
iPhone
On iPhones, the screen recorder is part of the Control Center. If you don’t see it there, you’ll need to add it. Go to Settings > Control Center > Customize Controls, then tap the “+” button next to “Screen Recording”. Once added, access the Control Center by swiping down from the top right corner (on iPhones with Face ID) or swiping up from the bottom of the screen (on iPhones with a Home button). The screen recording icon resembles a solid circle within a larger, thinner circle.
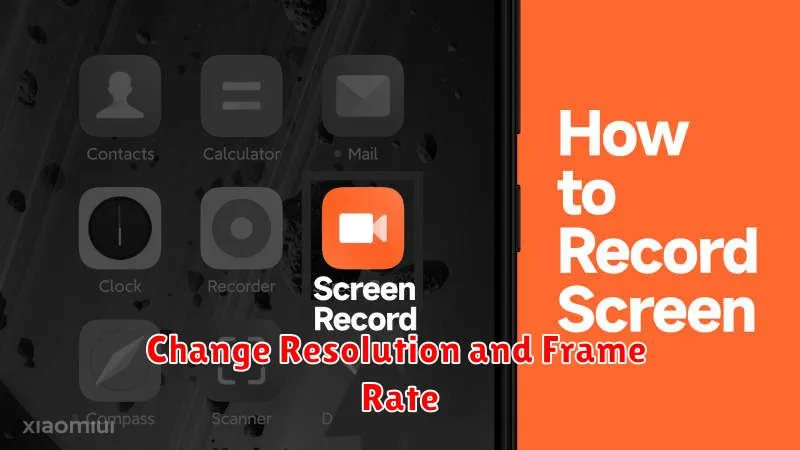
Change Resolution and Frame Rate
Resolution and frame rate significantly impact the quality of your screen recording. Higher resolutions result in sharper videos, while higher frame rates produce smoother motion. However, higher settings also increase file size. Balancing quality and file size is crucial.
Most mobile screen recording tools offer various resolution and frame rate options. Common resolutions include 720p (HD), 1080p (Full HD), and even 1440p (QHD) or higher on some devices. Typical frame rates range from 24 fps (frames per second) to 60 fps, with some devices supporting even higher rates.
Consider your needs when selecting these settings. For standard tutorials or gameplay recordings, 720p at 30 fps often suffices. If you need high detail, choose a higher resolution, but be prepared for larger file sizes.
Record Audio with the Screen
Recording audio along with your screen capture is crucial for creating effective tutorials, presentations, or gameplay videos. Most modern Android and iOS devices allow you to capture internal audio, meaning system sounds and audio from apps. This is often the preferred method for high-quality audio recording.
Android devices usually offer internal audio recording directly within the screen recording functionality. Look for a setting like “Audio Source” and select “Internal Audio” or a similarly worded option.
On iPhones and iPads, enabling internal audio recording involves a few extra steps. You’ll need to access the Control Center and long-press the screen recording button. Then, tap the microphone icon and select “Microphone Audio” to capture internal sound. Be aware that some apps may restrict internal audio recording due to copyright or privacy reasons.
Save and Edit Recordings
After stopping the recording, the video is typically saved automatically to your device’s photo library or a designated screen recording folder. The saving location might vary based on your device’s operating system and settings. Look for it in your Gallery or Photos app.
Most mobile operating systems provide basic editing tools for screen recordings. These can include trimming the beginning or end of the video, and sometimes even adding annotations or voiceovers.
For more advanced editing, consider using a dedicated video editing application. These apps offer more features, such as adding transitions, music, and text overlays.
Third-Party Recording App Options
While built-in screen recording functionality is convenient, third-party apps often offer advanced features. These apps may provide higher resolutions, frame rates, and internal/external audio recording options. Some also include editing tools directly within the app.
When selecting a third-party app, consider factors like user reviews, available features, and potential costs. Some apps are free with limited functionality, while others offer premium features through in-app purchases or subscriptions. Ensure the app is compatible with your device’s operating system version.