
Taking stunning low light photos with your phone can feel challenging. Images often appear grainy, blurry, or underexposed. However, mastering low light photography with your smartphone is achievable with a few key techniques and a little understanding of your phone’s camera settings. This guide will provide practical tips and strategies to help you capture dramatically improved low light photos, even without professional equipment. Learn how to harness the power of your phone’s camera to transform challenging low light situations into opportunities for capturing beautiful, memorable images.
Whether you’re capturing the ambiance of a dimly lit restaurant, the magic of a sunset, or the vibrancy of city lights at night, this article will equip you with the knowledge to overcome low light challenges. We’ll explore techniques such as utilizing Night Mode, adjusting ISO, controlling shutter speed, and understanding the importance of stabilization. Unlock the potential of your phone’s camera and learn to confidently capture breathtaking low light photos that you’ll be proud to share.
Understand Night Mode Features
Night Mode is a powerful feature designed to improve low-light photography. It works by combining multiple exposures taken over a short period, effectively gathering more light than a single shot. This process reduces noise and increases brightness, revealing details otherwise lost in darkness.
Most Night Modes offer automatic settings, intelligently adjusting exposure time based on the scene’s brightness. Some devices also provide manual controls, allowing you to fine-tune the exposure duration for greater creative control. Longer exposures capture more light, ideal for very dark scenes, but require a steady hand or tripod to prevent blur.
Understanding how Night Mode operates on your specific device is crucial for maximizing its potential. Explore its features and settings to gain better control over your low-light photography.
Use a Tripod for Stability
In low light conditions, even the slightest movement can result in blurry photos. Using a tripod is the most effective way to eliminate camera shake and ensure sharp images. A tripod provides a stable platform for your phone, allowing the camera to capture more light without the blur caused by handheld shooting.
Tripod Options: There are a variety of tripods available, from small and flexible models designed for smartphones to larger, more robust options. Choose a tripod that suits your needs and budget.
Stabilization is Key: Even with a tripod, ensure your phone is securely mounted to prevent accidental movement during the exposure.
Adjust Exposure and Focus
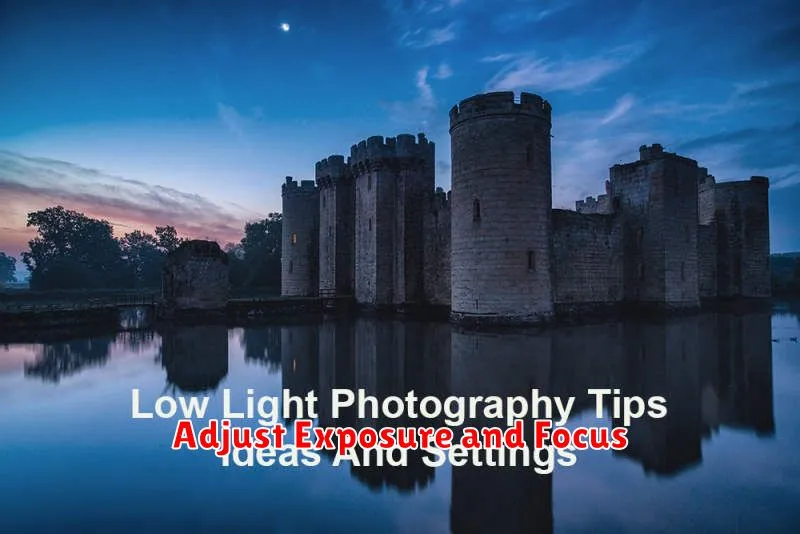
In low-light situations, your phone’s camera might struggle to determine the correct exposure and focus. Manually adjusting these settings can significantly improve your results.
Most phone cameras allow you to adjust exposure by tapping on the screen and then dragging a slider up or down. Increasing the exposure brightens the image, while decreasing it darkens it. Be careful not to overexpose, as this can lead to blown-out highlights.
Similarly, you can lock focus by tapping and holding on the subject you want to be sharp. This is especially important in low light, where the autofocus system can hunt for focus and produce blurry images.
Avoid Digital Zoom
Digital zoom is a common feature on smartphones, but it should be avoided when shooting in low light. Unlike optical zoom, which uses the lens to magnify the image, digital zoom simply enlarges a portion of the image. This process doesn’t add any detail, and in fact, it reduces image quality, leading to pixelation and blur, especially noticeable in low-light situations.
Instead of using digital zoom, physically move closer to your subject if possible. This will allow you to capture more detail and avoid the negative effects of digital zoom. If you can’t get closer, crop your photo later in a photo editing app. This offers similar results to digital zoom but with more control and less immediate quality loss.
Use Manual Settings If Available
Most modern smartphones offer a manual or “Pro” mode in their camera app. This mode grants you greater control over crucial settings that significantly impact low-light image quality. Utilizing manual settings allows you to fine-tune your camera’s behavior in challenging lighting conditions.
ISO: In low light, increasing the ISO boosts sensitivity to light, allowing for a brighter image. However, be mindful of noise, which appears as graininess and reduces detail. Experiment to find a balance between brightness and acceptable noise levels.
Shutter Speed: A slower shutter speed allows more light to reach the sensor, essential for low light. However, this makes the camera more susceptible to blur from handshake. A tripod or stable surface is highly recommended when using slower shutter speeds.
Aperture (if available): A wider aperture (represented by a smaller f-number, like f/1.8) allows more light in. Not all phones offer aperture control, but if yours does, prioritize a wider aperture in low light.
Best Apps for Low Light Photography
While practicing the techniques discussed earlier significantly improves low-light photography, dedicated apps can further enhance your results. These apps offer advanced features designed specifically for challenging lighting conditions.
Several apps excel in low-light photography. Some offer manual controls over ISO, shutter speed, and white balance, giving you greater creative freedom. Others specialize in noise reduction, minimizing the graininess often associated with low-light images. Look for apps that offer RAW format support, allowing for greater flexibility in post-processing.
Choosing the “best” app depends on your specific needs and preferences. Experiment with a few different options to find one that suits your shooting style.
Tips for Editing Night Shots
Editing is crucial for maximizing the quality of your night shots. Adjust brightness and contrast carefully to reveal details without introducing noise. Increasing contrast too much can make the image look harsh.
Reduce noise using a noise reduction tool. Be mindful not to over-apply it, as this can soften details. Experiment with different levels to find a balance.
White balance is often off in night photos. Adjust it to correct color casts and achieve a more natural look. Use the presets or manually fine-tune the temperature and tint.
Sharpening can help bring back detail lost due to noise reduction. Apply sharpening sparingly to avoid making the image appear grainy.